• Dwell
    • Microhousing: an overview
    • Minim House
    • Studio Shed
    • Boombox Container Studio
    • DC Students Tiny House
  • Tech
    • Off grid water
    • Off grid greywater
    • Off grid sanitation
    • Off grid electric
    • Off grid cooking
    • Heating- Air
    • Heating- Water
    • Cooling
    • Air quality
    • Micro transport
  • Furnish
    • Transforming Tables
    • Convertible Beds
    • Compact Seating
    • Micro Kitchens
    • Bath
  • Grow
    • Habitat
    • Vegetables
    • Fruit
    • Honey
    • Food preservation
  • Policy
    • Mission + Strategy
    • Microhouse Finance
    • Microhouse Insurance
    • DC Policy on Trailers
    • DC Policy on Housing
  • Tour
  • Blog
  • Team
  • FAQs
Find us
Like Us
Micro ShowcaseMicro Showcase
  • Dwell
    • Microhousing: an overview
    • Minim House
    • Studio Shed
    • Boombox Container Studio
    • DC Students Tiny House
  • Tech
    • Off grid water
    • Off grid greywater
    • Off grid sanitation
    • Off grid electric
    • Off grid cooking
    • Heating- Air
    • Heating- Water
    • Cooling
    • Air quality
    • Micro transport
  • Furnish
    • Transforming Tables
    • Convertible Beds
    • Compact Seating
    • Micro Kitchens
    • Bath
  • Grow
    • Habitat
    • Vegetables
    • Fruit
    • Honey
    • Food preservation
  • Policy
    • Mission + Strategy
    • Microhouse Finance
    • Microhouse Insurance
    • DC Policy on Trailers
    • DC Policy on Housing
  • Tour
  • Blog
  • Team
  • FAQs
Studio Shed build starts
Day 3- Tony installs doors

Studio Shed build starts

March 29, 2014 Posted by Brian Brian, Houses

In January I started working with the great folks at Studio Shed to design and deliver a structure for Boneyard Studios. As described in a previous post, it will be a common space- part workshop space, part bike storage, part trailer park bingo hall.  Delivery of the shed came on Tuesday, and after a too-windy Wednesday we started construction Thursday and Friday morning on the lot.

So far its been:

1 hour to remove the shipping container

1 day to prep and pour the concrete

3 days to let concrete dry

3 hours to unload the Studio Shed materials (unfortunately, in driving snow)

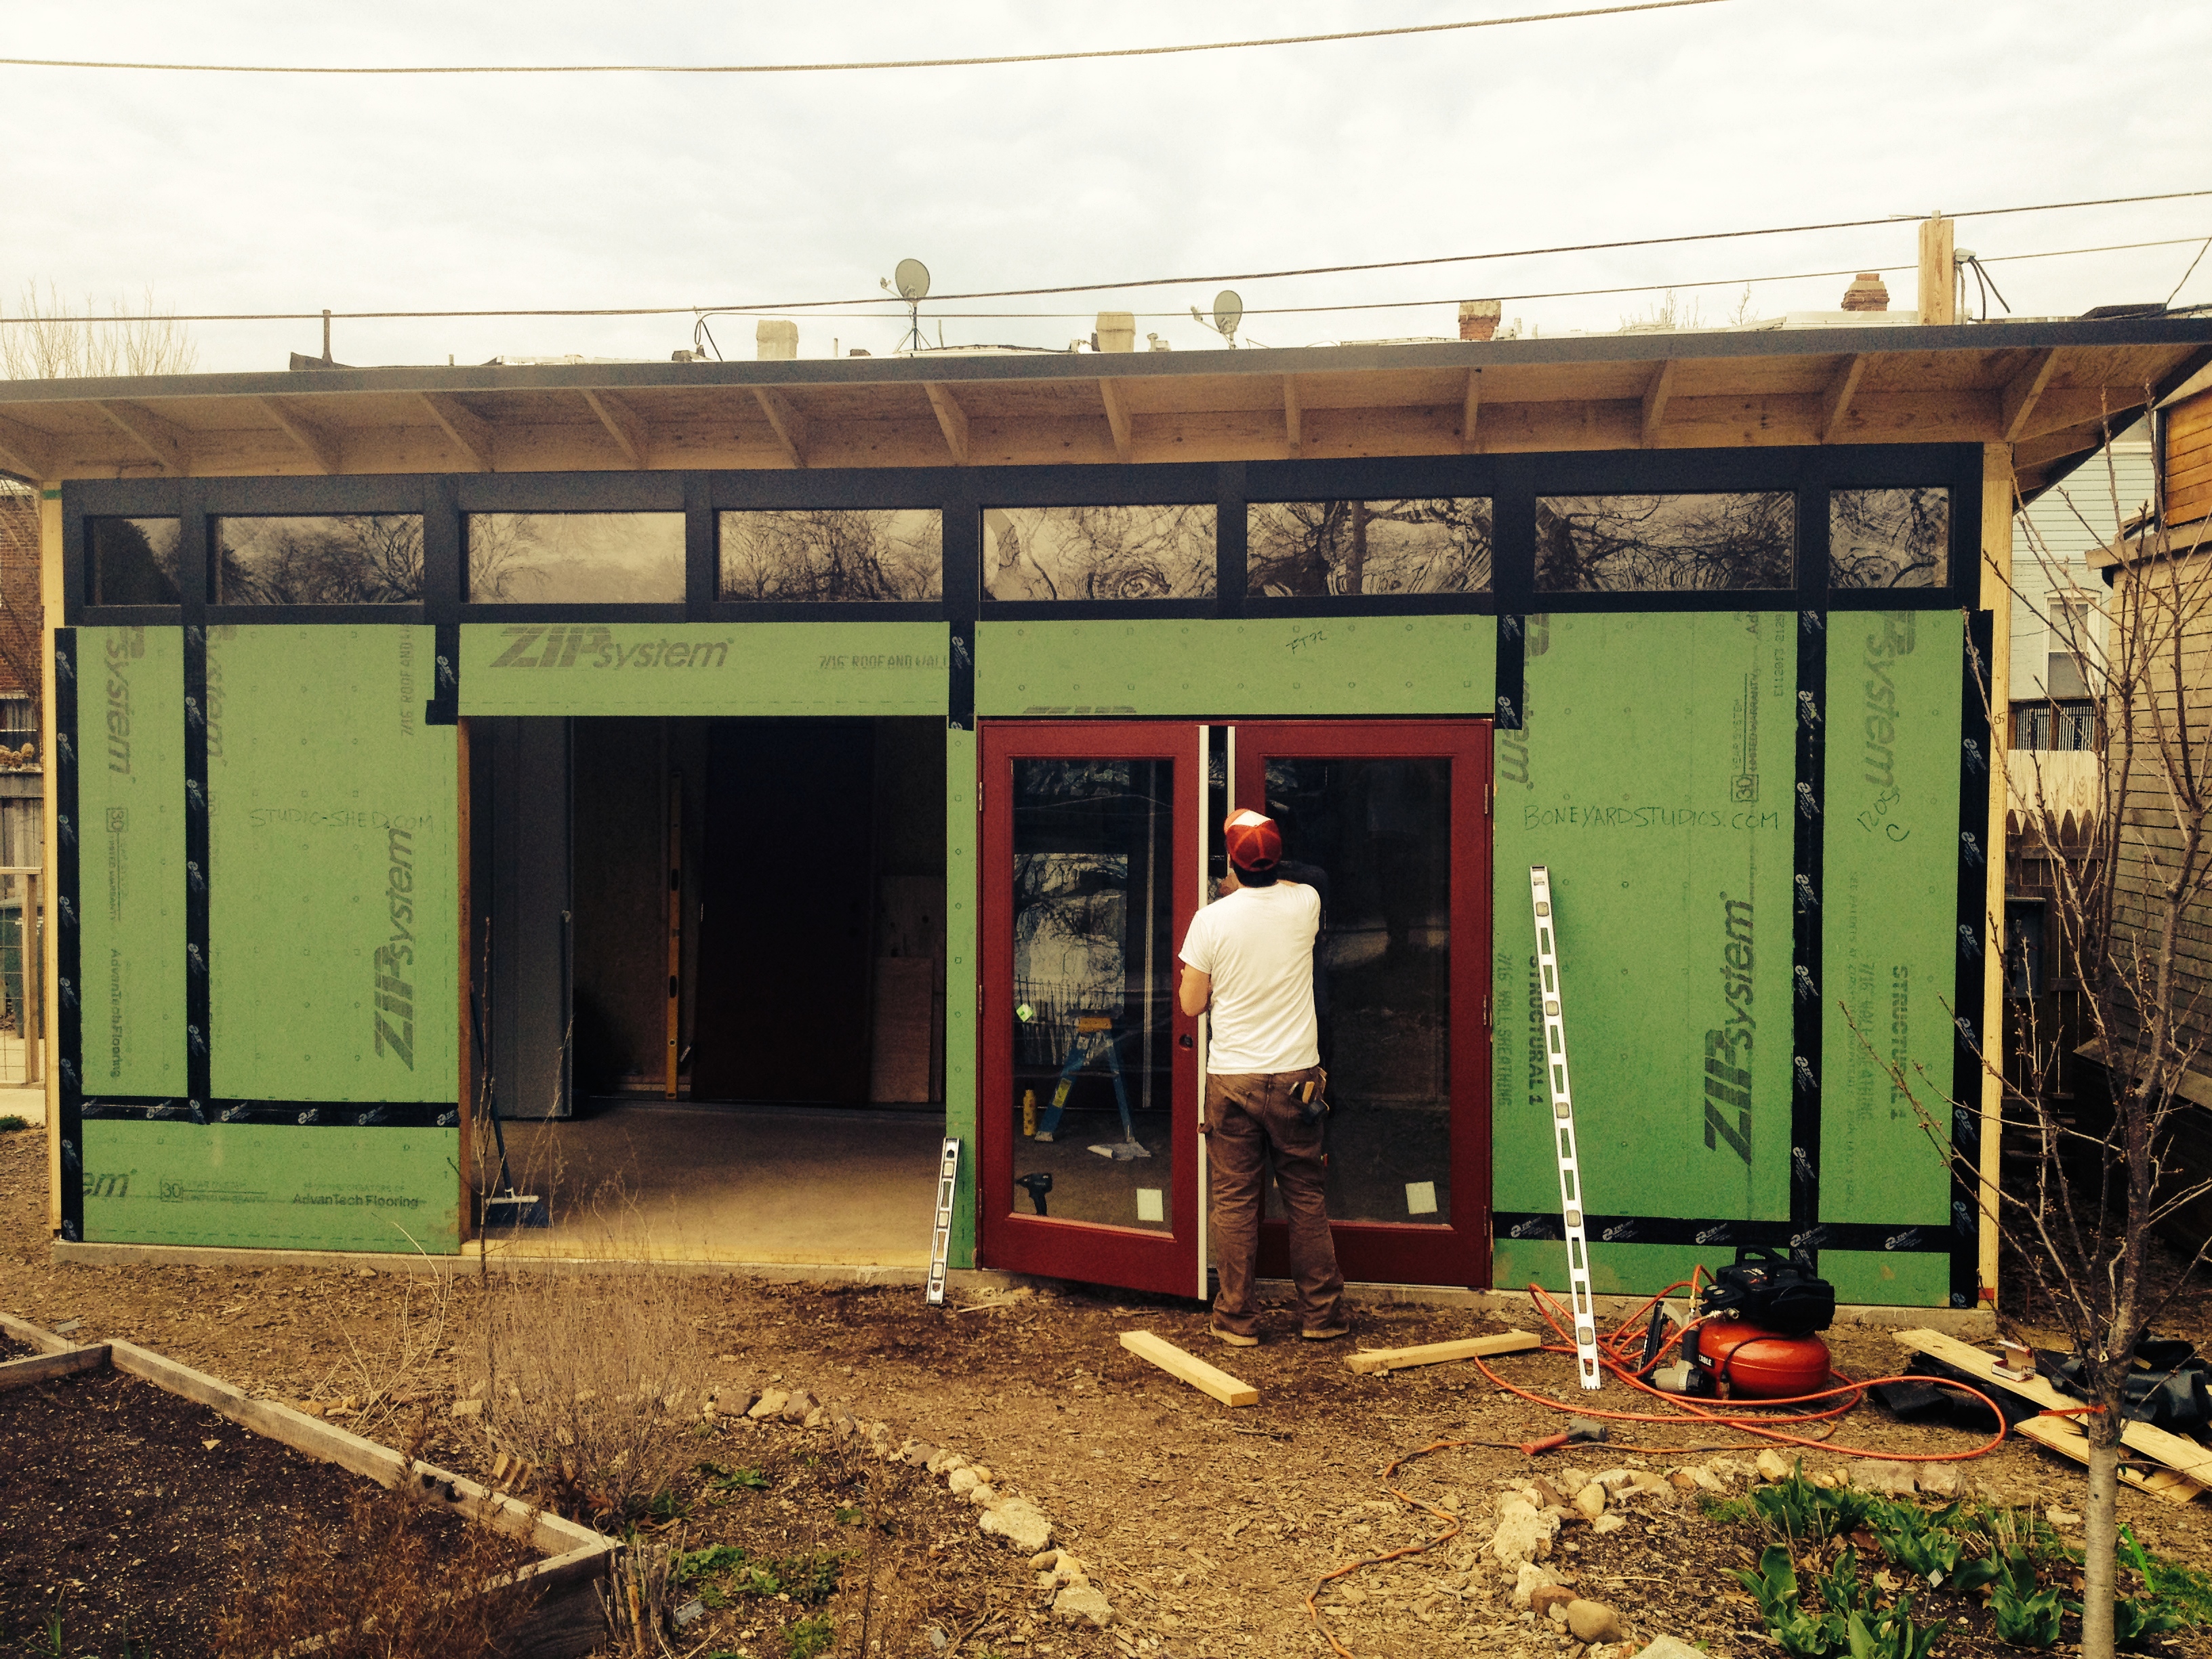
1 full day and 3 hours the following morning to complete the 12×24’ Studio Shed shell (walls+windows+roofing)

So far we’ve been impressed with how easily the Studio Shed goes together, and how open it feels inside.  In the coming week(s) we’ll work on adding the galvanized roofing, siding, installing the doors and trim, and completing the interior.  A huge thanks to Tony, who is super talented and great to work with on site, and the folks at Studio Shed (Laura O’Connor, Mike Koenig, Jason Plumb and others) who have been so remarkably helpful during design and construction.

Original plans from Studio Shed
Day 0- Goodbye to the old ugly shipping container...
Day 0- Goodbye to the old ugly shipping container…
Day 1- Concrete pour
Day 2 (after concrete dried)- Studio Shed build starts
Day 2- putting the ZipSystem walls up (note no Tyvek needed!)
Day 3- Tony installs doors
Day 4- Interior unfinished, waiting for insulation and drywall...
Day 4- Interior unfinished, waiting for insulation and drywall…
Day 5- Tony finishing then galvanized metal roof in one day!
Insulation in and drywall up
Electric and insulation (roxol) being added to Studio Shed walls
Studio Shed siding (Hardyboard), pre-cut and pre-painted
Tony works on the siding (we were a bit slower putting this up- took a bit longer than expected)
Bags of American Clay ready for mixing for wall application
Brian troweling clay
Clay is applied over prepped drywall for a very rugged and easily repairable finish (also 100% all natural)

Share

Contact Us

We're currently offline. Send us an email and we'll get back to you, asap.

Send Message

Subscribe

Enter email address to follow blog + receive new post notifications.

Join 1,749 other subscribers

Events

No events

© 2015 · Micro Showcase

Prev Next
 

Loading Comments...